

By the end of this hands-on guide you’ll have removed an old garage door opener, installed a replacement unit or swapped its motor, aligned safety sensors, and tested remote controls—ready for safe daily use. Plan 4–8 hours for a full opener replacement (2–4 hours for a motor-only swap); this assumes an intermediate DIYer comfortable with ladders, basic wiring, and power tools.
Introduction to Replacing a Garage Door Opener
The decision to replace a garage door opener starts with symptom assessment: repeated failures to start, grinding noises, inconsistent limit settings or dead remotes often indicate motor or gearbox end-of-life. Replacing the motor only can save money when the rail system, head unit and controls are compatible and still covered by warranty; replacing the whole unit is usually faster and reduces long-term repair risk.
Common reasons to replace an opener include a burnt motor, stripped gears, obsolete remote frequency (legacy 300‑MHz units), broken rail alignment, or damaged belt/chain/screw drive. Typical failure signals are:
- Opener hums but doesn’t turn (worn gearbox or motor brushes)
- Uneven door travel or binding (rail or trolley damage)
- Safety reverse failures or sensor faults
- Frequent reset requirements or error codes on smart models
Before deciding, compare repair cost vs replacement: a new opener often includes modern safety features (rolling‑code remotes, improved safety reverse sensors) and better warranties. For cost context, see garage door prices guide for brands and installation cost.
To pick an appropriate replacement, read the types of garage door openers guide which weighs chain, belt and screw drives for noise, maintenance and cost.
Safety and warranty notes: DIY replacement can void manufacturer warranties in some cases—check your model manual. For safety standard references, consult the Occupational Safety and Health Administration and industry guidance listed later in this article.
Assessing How Hard Is It to Replace a Garage Door Opener
Replacing a garage door opener ranges from moderate to challenging depending on whether you swap a motor only or change the entire unit. Below is a practical breakdown to help you decide.
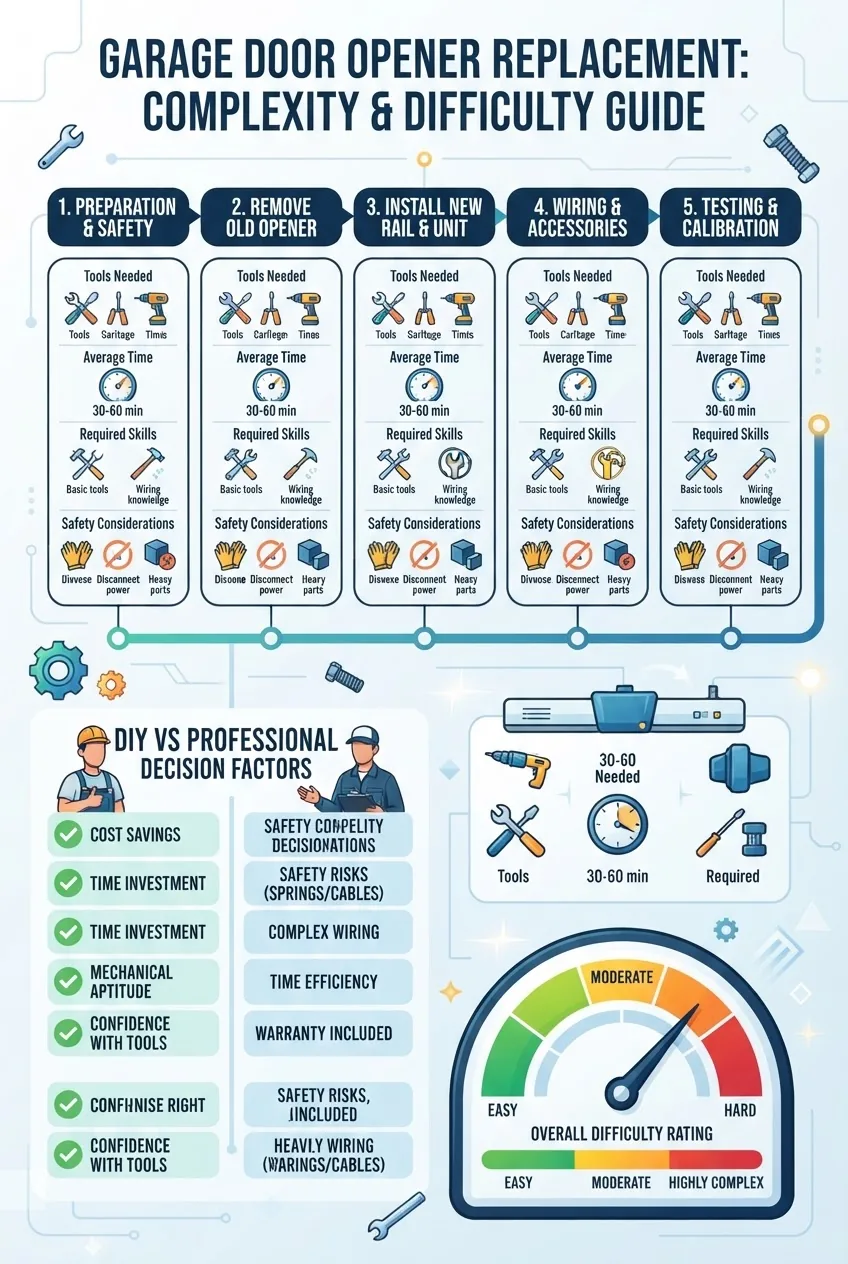
-
Basic swap (minor parts, no rail change) — Easy to Moderate
Time: 1.5–3 hours. Skills: screwdriver/drill use, ladder safety, basic wiring (neutral/live grounding), remote reprogramming. Typical when replacing a broken remote sensor or trolley.
-
Motor-only replacement in same rail system — Moderate
Time: 2–4 hours. Skills: moderate mechanical disassembly, correct torque on mounting bolts, verifying chain/belt tension, and motor wiring reconnection. Requires matching motor plate and power compatibility.
-
Full unit replacement (rail, head, rail bar) — Moderate to Challenging
Time: 4–8 hours. Skills: bracket alignment, rail installation, accurate limit adjustment, sensor alignment, and electrical outlet planning. Larger or insulated doors increase difficulty.
-
Complex installs (high‑lift, commercial doors) — Challenging / Pro
Time: 8+ hours, often requiring two people and specialized hardware. Skills: structural mounting, high-lift conversion knowledge, and torque control for heavy-duty springs.
Pros and cons summary:
| Option | Pros | Cons |
|---|---|---|
| Motor-only replacement | Lower cost, faster, keeps existing rail | Compatibility risk, partial warranty issues |
| Full unit replacement | Modern features, full warranty, reduced future repairs | Longer install, higher upfront cost |
Safety considerations: always disconnect power before disassembly and keep the door clamped or locked in place—garage doors have powerful springs. For official safety protocols consult OSHA.
Estimated difficulty gauge: for a homeowner with basic DIY experience and a helper, a full replacement is a 6/10 task; a motor swap is 4/10. If the job involves rewiring a new outlet, heavy structural drilling, or torsion spring adjustments, hire a pro.
Tools and Materials Needed for Garage Door Opener Replacement
Gather these before you begin. Exact brand choices are personal, but I prefer a brushless drill for durability and a torque wrench for consistent bolt torque.
- Cordless drill (18V with 1/2″ chuck) — for mounting and bracket screws; use with Phillips and flat bits.
- Set of wrenches (8mm–19mm) and ratchet — for mounting bolts and linkage. Use a 10mm and 13mm often.
- Ladder — 8 ft or 12 ft depending on ceiling height; have a second person hold ladder base.
- Torque wrench — set to 25–40 ft‑lb for mounting bolts unless manufacturer specifies. Torque prevents loosening from vibration.
- Safety glasses and gloves — eye protection when working overhead.
- Voltage tester / multimeter — confirm outlet power and zero voltage after unplugging before touching wires.
- Clamps or locking pliers — to secure the door in the open position during disconnects.
- Replacement hardware kit — mounting brackets, carriage bolt set, anti‑vibration pads; many openers include these, check the parts list.
- Low‑voltage wiring (18/2 thermostat cable) and wire nuts — for sensor or wall button connections.
- Zip ties and tape — to bundle wires along the rail neatly.
- Drop cloth — protect the car/floor and collect debris.
- garage door opener components guide — use this for reference of parts you’ll handle.
Step-by-Step Guide: How to Remove a Garage Door Opener
This section walks through full head unit removal. If you are only doing a motor swap follow the How to Change a Garage Door Motor Only section later. Keep your phone camera ready to photograph wiring and bracket orientations for later reassembly.
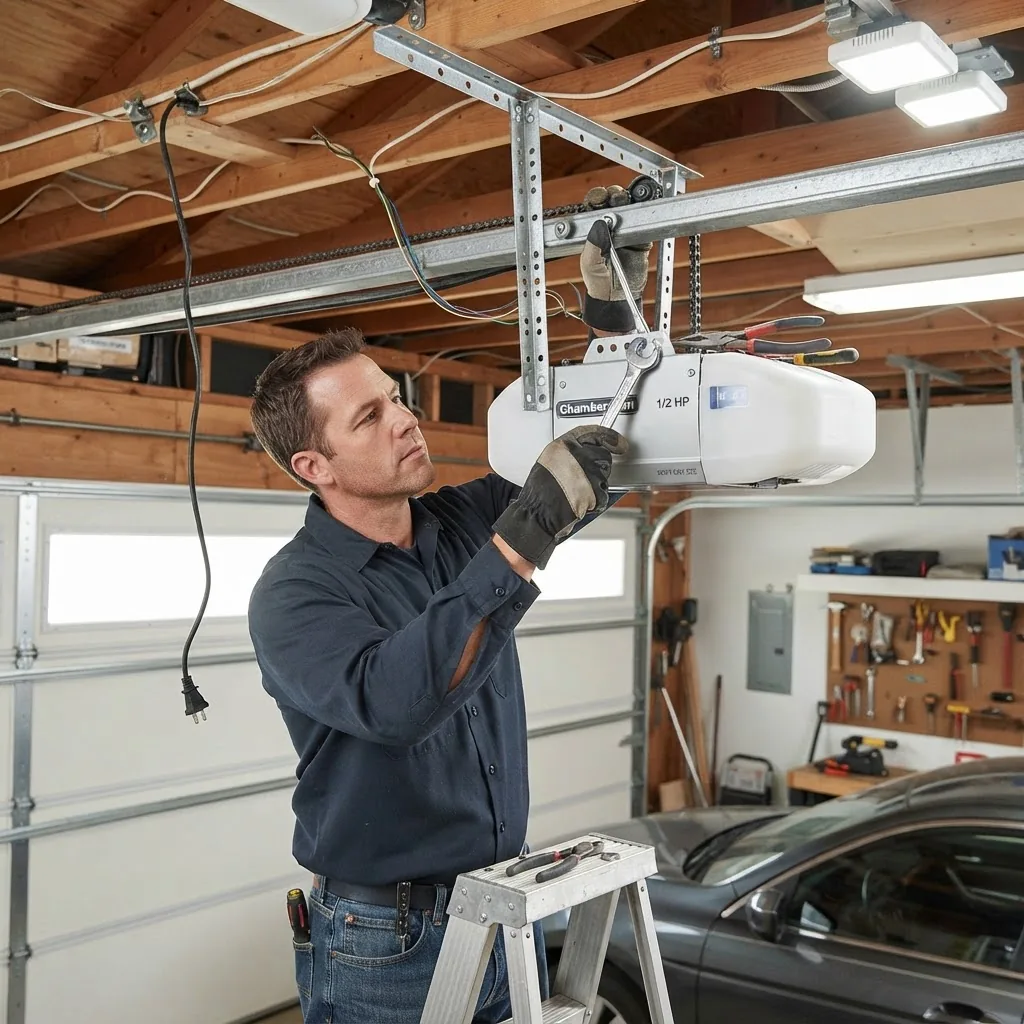
-
Secure the door in the open position.
Put the door fully open and clamp it to the track using locking pliers on the bottom roller or use a C‑clamp on the lower track to prevent accidental closing. This prevents the door from dropping when the opener is removed.
Safety tip: Disconnect the opener only when the door is stable and cannot move under its own weight.
-
Disconnect power and verify zero voltage.
Unplug the opener from its outlet. If the unit is hardwired, turn the breaker off and use a voltage tester at the junction box to verify no live power. Label the breaker if necessary to prevent accidental reactivation.
Reference: follow electrical safety procedures per OSHA.
-
Release the emergency disconnect and manually lower the trolley.
Pull the emergency release cord (usually red) to disengage the trolley from the opener carriage. With the door still clamped open, slide the trolley to the fully-open position and secure it against the header with a stop block or clamp so it doesn’t move during removal.
-
Remove the door arm connection to the trolley or carriage.
Locate the curved door arm connecting the opener trolley to the garage door bracket. Unscrew the clevis pin or bolt and remove the arm. Put fasteners into a labeled bag for reassembly. If the door arm has rusted bolts, apply penetrating oil 15 minutes prior to unscrewing.
-
Support the opener head and remove mounting hardware.
Place a 2×4 or a second ladder under the opener head to bear its weight. Using the appropriate wrench, remove the bolts attaching the opener mounting bracket(s) to the ceiling joists or header. Keep one hand on the unit until all fasteners are out and lower slowly.
Torque note: when reinstalling, tighten mounting bolts to 20–30 ft‑lb unless manufacturer specifies otherwise to prevent vibration loosening.
-
Unplug low-voltage wiring and label everything.
Disconnect the wall button wires and the safety sensor low-voltage wires at the opener’s terminal block—most use 18/2 cable. Photograph the terminal block and label each wire with tape to record positions (e.g., “door button +” and “sensor left -“). This saves troubleshooting time during installation.
-
Remove the rail or shaft if replacing the entire unit.
If the rail detaches from the head unit, remove the retaining bolts and slide the rail toward the door to free it. For screw-drive rails, check for set screws in the drive tube; for chain/belt drives, remove the trolley and then the rail.
Tip: Keep the rail and belt/chain together and coil the chain/belt carefully to avoid kinking.
-
Disconnect and remove sensors and wall control.
Remove the safety photo-eye sensors from the track mountings and undo the wall control plate. Keep low‑voltage wires neat—bundle with zip ties, and label which side is “door open” for ease aligning later.
-
Inspect all parts and document condition.
Lay out components on a drop cloth and check for wear: stripped gears, frayed belts, bent rails, and corroded brackets. Photograph each component for reference and warranty claims.
-
Store hardware and responsibly dispose of the old opener.
Keep bolts and brackets in labeled bags. Recycle the old motor and electronics per local regulations; some manufacturers offer take-back programs. Retain any warranty or model information in case of future claims.
Common mistakes and how to avoid them
I once removed the opener without fully clamping the door and the door shifted when the trolley released; that taught me to always use locking pliers on a lower roller and photograph every wire before disconnecting. I also learned to label every terminal—guessing wires costs hours.
Step-by-Step Guide: How to Install a New Garage Door Opener
This full installation walkthrough covers head unit mounting, rail setup, attaching opener to door, wiring, sensor alignment and testing. Read each step fully before acting and keep the instruction manual from the opener manufacturer to confirm model‑specific torque and wiring diagrams.
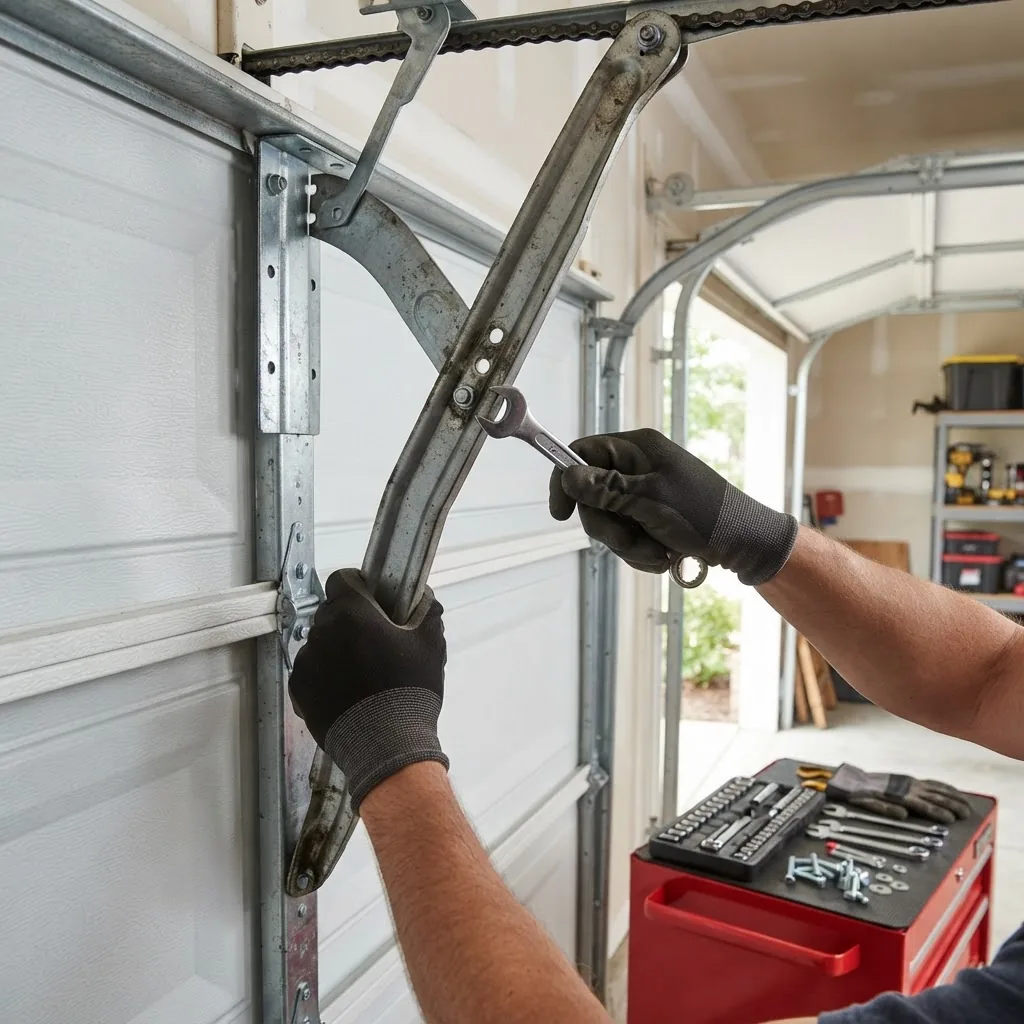
-
Confirm compatibility and prepare the work area.
Unbox the new opener and verify parts per the packing list: head unit, rail sections, trolley, belt/chain, mounting brackets, door arm, safety sensors, wall control and hardware. Clear the garage and place a drop cloth under the work area. If you have an insulated or heavy door, confirm the opener horsepower (1/2 HP minimum typically; see manufacturer specs).
Case note: According to a 2024 industry report, homeowners commonly underestimate door weight when selecting horsepower (source type: industry report).
-
Install the header bracket and center support.
Measure and mark the header bracket location per the manual—usually 2–3″ above the door header centerline on the garage header. Use lag bolts into solid wood or structural anchors for masonry. If a center support is required for long rails, install it at manufacturer‑specified spacing (typically every 8–10 feet).
Torque: tighten lag bolts to 40–50 ft‑lb for header brackets on heavy doors unless manual states otherwise.
-
Assemble the rail and attach to the motor head.
Lay out rail sections in order and connect per the manual. For belt and chain drives, ensure the belt/chain runs straight and is not twisted. Slide the trolley onto the rail before final rail assembly if the design requires. Attach the rail to the opener head with its retaining bolts finger-tight for later adjustment.
-
Mount the opener head unit to the ceiling.
With one helper, lift the unit into place using a ladder or 2×4 support and attach the mounting bracket to joists or solid blocking with the supplied lag bolts. Use a level to ensure the head is square with the door path. Tighten mounting bolts to the torque specified in the manual (commonly 25–35 ft‑lb).
Tip: place anti‑vibration pads between the bracket and head unit to reduce transmitted noise.
-
Connect the rail to the header bracket and test trolley travel.
Attach the front end of the rail to the header bracket, aligning the trolley to the door bracket location. Manually move the trolley to ensure smooth travel; adjust rail bolts if binding is detected.
-
Attach the door arm and bracket to the garage door.
Fasten the straight arm to the trolley with the correct clevis pin or fastener. Attach the curved arm to the door bracket at the manufacturer-specified hole (often the center hole for standard travel). Secure with new nuts and cotter pins where provided.
When connecting, leave fasteners slightly loose to allow final door balance adjustment; test travel then fully tighten.
garage door lift system guide and manual kits is a useful reference if you also maintain manual mechanisms.
-
Wire the safety sensors and wall control.
Run 18/2 low-voltage cable from the opener to the wall button and sensors. Strip 1/4″ of insulation and insert into the labeled terminals: most openers label COM and PUSH or use +/−. Install the sensors at 4–6″ above the floor, facing each other with unobstructed sightlines. Connect left to left and right to right terminals per the manual.
Use a multimeter to check continuity. If your opener is smart-enabled, follow the network/wifi steps in the manufacturer’s quick start after power-up.
-
Make the power connection safely.
If the opener plugs into an existing outlet, ensure it is on a dedicated 15A/20A circuit as recommended by the manufacturer. If hardwiring is required, thread the supply through the provided strain relief into the opener junction box and attach conductors to the transformer or terminal block, observing line and neutral markings. When in doubt, have a licensed electrician install a GFCI-protected outlet or hardwired connection.
Safety caveat: I only hardwire if I can verify breaker isolation and wiring code compliance.
-
Program limits and force settings.
With the door closed, set the close limit and force per manual: typically adjust the travel limit until the door reverses when the bottom edge lightly contacts a 2×4 laid across the threshold. Force settings are commonly set low, then increased until consistent closing occurs without excessive force—use small increments and re-test.
Manufacturer tip: many modern openers use LED indicators or an auto‑learn sequence; consult the included guide; for automated setup see garage door opener installation guide with setup tips.
-
Align and test safety reverse sensors.
Align sensors until the LED on each sensor is solid (no blinking). Place a 1.5″ object in the path and command the door to close—if the opener reverses immediately the sensors are working correctly. If the door fails to reverse, re-check wiring polarity and lens cleanliness.
Case study: in one install a sensor on a recessed track was partially blocked by the roller bracket; moving the sensor 2″ outward resolved intermittent reversals.
-
Program remote controls and wall button.
Follow the manufacturer’s pairing steps: typically press the Learn button on the head unit, then press a remote button within 30 seconds. For brand-specific steps, including LiftMaster programming details, see install LiftMaster garage door opener and programming LiftMaster garage door remote control.
-
Test full operation and fine-tune.
Run multiple open/close cycles and observe for unusual noises, smooth travel, and reliable reversals. Check for loose fasteners and tighten mounting bolts to their final torque specs. Adjust belt/chain tension: chain drive should have 1/2″–1″ slack at midspan; belt tension varies by manufacturer—consult the manual.
-
Secure all wiring and clean up.
Bundle low-voltage wires along the rail with zip ties at 12″ intervals and secure power cord away from moving parts. Replace any insulation or drywall disturbed during mounting and remove the drop cloth, disposing of old parts responsibly.
2>
Common mistakes and how to avoid them
I once overtightened rail bolts before checking trolley travel and had to unbolt and re-level the rail—always leave bolts snug until the door path is confirmed. I also learned to start limit and force settings low and increase cautiously; excessive force risks personal injury and can void warranties.
How to Change a Garage Door Motor Only (When Applicable)
Swapping only the motor saves time if the rail, belt/chain and electronics are intact and compatible. This procedure assumes the head unit and rail are compatible with the replacement motor and that no proprietary control electronics will be mismatched.
-
Confirm motor compatibility and order the correct replacement.
Match mounting plate dimensions, gear type (direct drive vs geared), and motor voltage (typically 120V for residential). Check the model number and consult the manufacturer’s technical bulletin; many makers publish motor cross‑reference charts—see a manufacturer’s manual for guidance: LiftMaster.
-
Power down and clamp the door open.
Turn off power and lock the door open with pliers on a lower roller. Pull the emergency release and slide the trolley to the open stops to take pressure off the motor output shaft.
-
Remove the motor from the head unit housing.
Open the head unit access panel and note wiring positions or take photos. Unbolt the motor from its mounting plate—retain motor screws. Remove the drive coupling or gear box connection to the drive shaft per the manual. Label any shims or spacers.
-
Transfer or replace the gearbox and sprocket/gear if required.
Some motor kits require you to swap the gearbox; others include a complete motor assembly. If reusing the gearbox, inspect for stripped teeth or metal shavings—replace if present. If a gear replacement is needed, consult garage door opener gear replacement and repair.
-
Reconnect motor wiring using photos as a guide.
Reattach the wires to the terminal block in the same positions. Use torque driver on terminal screws to the spec in the manual (commonly 6–8 in‑lb for small terminal screws) and use new wire nuts where splices are present.
-
Reinstall the motor assembly and test without the door engaged.
Temporarily connect power and run the motor to ensure it turns smoothly and there are no unusual noises. Disconnect power, make final connections, then re-engage the trolley and test open/close cycles with the door attached.
-
Adjust limit and force settings as needed.
Motor-only swaps can change mechanical leverage; re-learn or fine-tune limits and force per earlier installation steps.
Common mistakes and how to avoid them
I once assumed a replacement motor used the same coupling size and couldn’t mount it; always measure coupling diameter and note gearbox model before purchasing. Also, never assume wiring colors match—always verify terminals, not colors.
Troubleshooting Common Issues During or After Installation
Here are frequent problems and direct fixes.
Check power at the outlet with a multimeter. If hardwired, confirm the breaker is on. Verify the unit is unplugged then inspect the head unit fuse or thermal overload—allow motor to cool for 30 minutes before attempting restart. If control board LED codes are present, consult the manual or the manufacturer’s technical line.
First, confirm limit settings and that the track and rollers are clear. Check force settings and test with a 2×4 on the threshold; adjust force in small increments until the door closes but still reverses on obstruction. Misaligned sensors can also cause immediate reversals—realign and clean sensor lenses.
Confirm the wall control wiring is secure at the terminal block. Replace remote batteries and reprogram remotes with the Learn button. If remotes still fail, consult the garage door opener button replacement guide or the manufacturer’s remote programming instructions.
Grinding usually points to stripped gears—inspect gearbox oil or teeth. Rattling often indicates loose mounting bolts or misaligned rail. Tighten hardware to spec and lubricate moving parts per the manufacturer (do not lubricate belts unless specified).
Clean sensor lenses and check that wires are not pinched. Replace failed sensors if LEDs remain inconsistent. For persistent issues, check for reflective surfaces in line-of-sight or sunlight hitting the sensor beam causing false readings.
Check torsion spring balance: disconnect opener and manually lift to mid‑height—door should stay put. If it falls or rises, springs need adjustment—this is a pro job; do not attempt spring adjustment unless trained.
FAQ-style quick fixes
- Opener hums but won’t turn: likely seized gearbox—inspect for metal shavings; consider gear replacement.
- Remote works intermittently: check remote frequency and antenna orientation on the head unit; move antenna to clear path.
- Door reverses without obstruction: lower limit too loose or magnetic interference—re‑tune counts and sensor wiring.
Tips for Attaching Garage Door Opener to Door Safely and Securely
Attachment is critical: if the door arm is loose or misaligned, the door can slam or bind. Follow these concrete steps and torque settings.
-
Mount the door bracket at the correct height.
Position the door mounting bracket on the door as specified—typically centered on the top panel between the top and second panels. Use 3/8″ carriage bolts through reinforcing plate, tightened to 20–25 ft‑lb.
-
Install the arm-to-door clevis pin with a cotter pin.
Insert the clevis pin through the bracket and arm; secure with a cotter pin or locking clip provided. Do not substitute a short bolt; ensure at least 1/4″ of pin protrusion before the cotter pin.
-
Adjust the arm length and final torque.
With the door closed, attach the arm and set fasteners snugly. After initial operational tests, retighten all arm and bracket hardware to final torque: door arm bolts to 15–20 ft‑lb unless manual specifies differently.
-
Confirm anti-lift and locking features are unobstructed.
Ensure any anti-lift brackets or manual locks do not bind the door when the opener is functioning. These can prevent opener damage in a forced-entry scenario.
-
Use vibration isolation and periodic checks.
Place rubber pads under ceiling mounts and check bracket torque every 6 months. If you hear a new rattle, inspect mounting first; loose mounts are the most common cause of increased noise.
Safety checklist while attaching
- Door clamped and cannot move
- Power disconnected before removing/attaching arm
- Use rated hardware and torque to spec
- Second person present for overhead lifting
Summary and Final Checks Before Using Your New Opener
Run through this final checklist to confirm safe, reliable operation.
- Door opens and closes smoothly on three consecutive cycles without binding.
- Safety reverse test: door reverses on contact with a 2×4 at the threshold and when the sensors are blocked.
- Limit and force settings adjusted so the door closes fully without excessive force—record numbers for future reference.
- All fasteners tightened to manufacturer torque values; vibration pads in place.
- Remote controls and wall switch programmed and functioning; at least two remotes tested.
- Low-voltage wiring secured along the rail and power connection verified on a dedicated circuit.
- Document model, serial number, installation date, and any altered parts for warranty.
If all items pass, you’re ready to use the opener for daily operation. Keep the manual and a summary of adjustments in the garage for maintenance.
When to call a professional
Call a pro if you encounter: torsion spring adjustments, damaged or missing header blocking, inconsistent electrical supply, hardwiring beyond your comfort with local code, or if the door is unbalanced. For heavy doors or commercial systems, hire trained technicians.


