

By the end of this guide you will have a clear, step-by-step plan to execute a full garage door makeover—cosmetic and functional upgrades that extend life and sharpen curb appeal. Typical projects take 1–5 days (weekend to long-week project) and assume a moderate DIY skill level (comfort with basic power tools and ladder work).
Before you start
- Prerequisites: basic ladder safety, ability to disconnect power to the opener, help from one assistant for lifting panels over 40 lb
- Essential tools and materials:
- Cordless drill with screw and torque bits
- Adjustable wrench, socket set (3/8″ and 1/2″), and locking pliers
- Screwdrivers (Phillips and flat), putty knife, and utility knife
- Orbital sander (120–220 grit), sanding block, tack cloth
- Exterior paint or stain, primer, brushes, rollers, 3M painter’s tape
- Weatherseal/threshold kits, polyurethane or closed-cell foam insulation panels
- Replacement hardware: hinges, rollers (nylon preferred), handles, decorative straps
- Safety gear: safety glasses, gloves, dust mask, steel-toe shoes
- Materials quantities: one 1‑gal exterior acrylic primer + one 1‑gal exterior paint for one single-car panel door (adjust up for size)
If you want a full teardown and new door, see the How to Change Garage Door DIY Replacement and Installation Guide for replacement methods; this makeover guide focuses on upgrades that avoid full replacement.
Understanding Garage Door Makeovers: What They Are and Why Consider Them
A garage door makeover is a targeted renovation of an existing door to improve appearance, performance, weather resistance, and sometimes security—without removing and replacing the entire unit. Like refreshing a room with paint, a makeover enhances curb appeal at a fraction of the cost of full replacement. Makeovers range from simple cosmetic updates (paint, decorative hardware, trim) to functional upgrades (insulation, rollers, opener tuning).
Key benefits of a makeover:
- Curb appeal boost for resale or pride-of-ownership
- Lower immediate cost compared with full replacement
- Faster project timelines—often a weekend
- Opportunity to extend the door’s service life by addressing worn hardware
Makeover vs. replacement: choose a makeover when the door structure is sound (no warped panels, major rust, or irreparable springs). A full replacement is warranted when the door fails safety checks, insulation needs are extreme, or the frame/track is damaged. Cosmetic vs. functional upgrades: cosmetic changes (paint, trim, faux windows) primarily affect curb appeal; functional upgrades (insulation, rollers, springs) affect thermal performance, noise, and lifecycle.
Cost-effectiveness is a central reason homeowners choose makeovers. According to a 2024 industry report by a national home improvement trade group, targeted makeovers can deliver 60–80% of the perceived value of a new door at roughly 20–40% of the cost. That makes makeovers a sound short- to mid-term investment when the door is structurally serviceable.
Case study snapshot: I worked with a homeowner who had a 1998 steel sectional door with surface rust and failing rollers. We replaced rollers and hinges, installed polyurethane insulation panels, prepped and repainted the exterior, and added faux carriage hardware. The project took two days, cost under $900 in parts and paint, and reduced noise while improving thermal feel in winter. The door’s operation was smoother and curb appeal increased measurably.
Transition: now that you understand why makeovers work, plan carefully before lifting a tool.
Planning Your Garage Door Renovation: Assess, Budget, and Design
- Conduct a full inspection. Walk the perimeter and inside. Check for:
- Visible panel damage: dents, warping, or delamination (if wood or composite)
- Hardware wear: loose hinges, cracked rollers, frayed cables, oil leakage from springs
- Track alignment: look for gaps between roller and track, or bent sections
- Weatherseal condition: cracked or missing bottom seal and side seals
- Opener operation: noisy travel, slow response, or failed auto-reverse
Measure: door width, height, and each panel height; record spring type (torsion or extension), and take photos. Use these measurements when ordering parts or replacement panels.
- Decide scope: cosmetic, functional, or both. Create a list prioritizing safety-critical fixes (springs, cables), functional upgrades (insulation, rollers), and aesthetic changes (paint, windows). Example scope for a typical single‑car makeover:
- Critical: replace two worn rollers, new bottom seal
- Functional: add 1″ polyurethane insulation, balance springs
- Cosmetic: primer + two coats of exterior paint, add decorative hinges and faux windows
- Set a realistic budget. Account for parts, tools, and labor (if hiring pros). Sample budget ranges (2024 industry data):
- Minor cosmetic refresh: $150–$600
- Hardware + functional upgrades: $400–$1,200
- High-end makeover (insulation + windows + hardware + painting): $1,200–$3,000
According to a 2024 industry report, typical DIY makeovers average $500–$1,000 in materials; hiring professionals often doubles that but shortens timeline and includes warranties.
- Choose styles and materials. Match door style to home architecture. Common choices:
- Painted steel panels for modern suburban homes
- Stained wood or wood‑look composite for craftsman and farmhouse styles
- Mixed materials: metal base with wood overlays for visual warmth
Measure coatings: for steel doors, use rust-inhibiting primers; for wood, use exterior-grade stain with UV blockers.
- Inspect codes and permits. Most cosmetic makeovers won’t need permits, but structural changes, electrical work for a new opener, or adding significant glazing may. Check local building department requirements and consult a certified installer for electrical modifications. For safety standards, review guidance at the Consumer Product Safety Commission and manufacturer torque guidelines.
- Plan timeline and staging. Break the project into discrete days:
- Day 1: inspection, ordering parts, minor repairs
- Day 2: hardware replacement, track alignment, safety checks
- Day 3: sanding, priming
- Day 4: painting and trim installation
- Day 5: final reassembly and testing
Buffer 1–2 days for curing paint and for any parts that need to be special-ordered.
- Source parts and materials. Buy rollers and hinges rated to the door weight. Use nylon rollers for quieter operation and sealed bearings for longevity. For insulation, choose closed‑cell foam or 1″ polyurethane panels for best R-value per inch. For energy efficiency details, consult ENERGY STAR guidance on garage insulation.
- Create a risk and safety plan. Document where to disconnect power, list heavy lifts requiring help, and mark items needing professional attention (torsion spring replacement, cable fraying). Note: torsion spring work is high risk—consult a pro if you aren’t trained.
Transition: with a plan in hand, choose the upgrades that deliver the best value and match your skills.
Popular Garage Door Upgrades: Materials, Hardware, and Aesthetic Enhancements
This section reviews upgrade options across materials, hardware, and finishes so you can pick improvements that fit your goals—better appearance, quieter operation, improved insulation, or a combination.
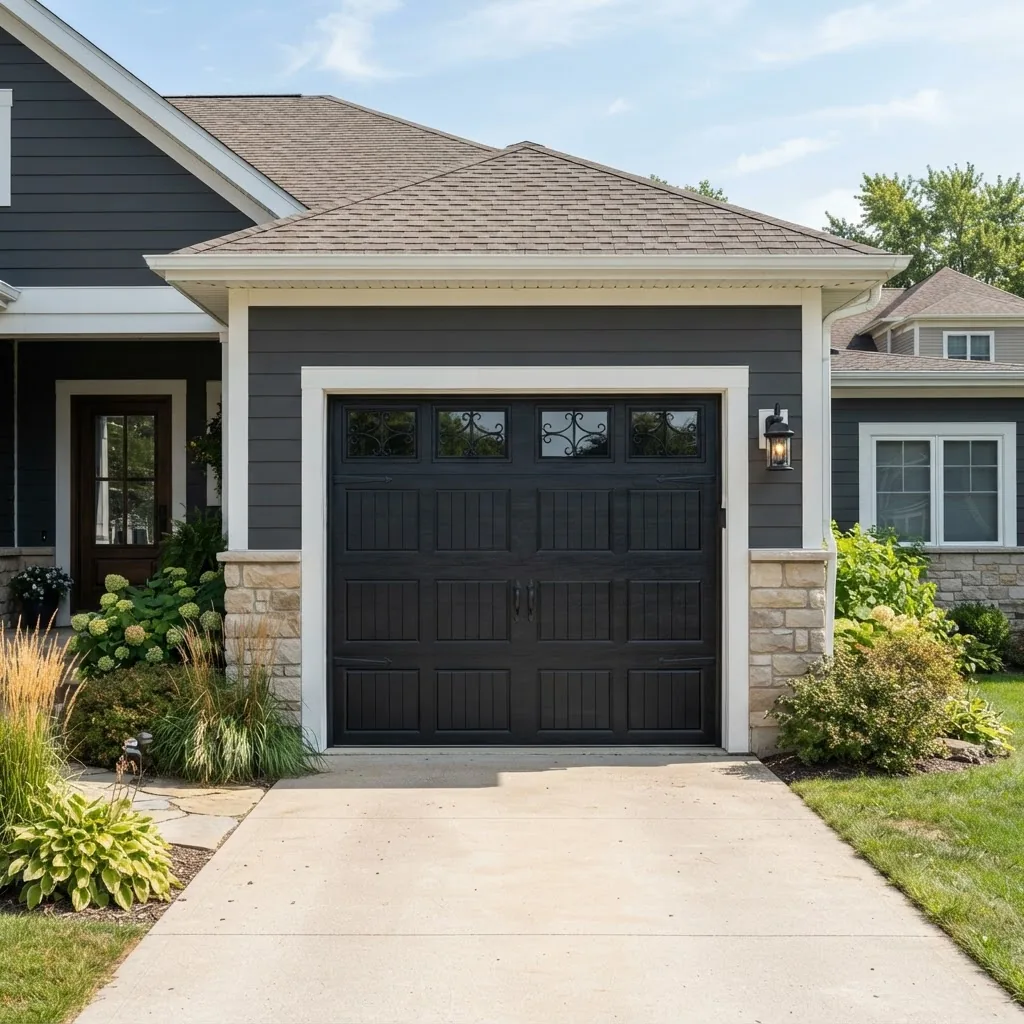
Materials: pros and cons
Common materials:
- Steel: Durable and affordable; resists impact, accepts paint well; rust is the main downside if coatings fail.
- Aluminum: Lightweight and corrosion-resistant; prone to denting on large flat panels.
- Wood: High-end aesthetic and natural insulation; requires ongoing maintenance (stain/paint every 2–5 years).
- Composite: Wood-look without rot; heavier than aluminum, but less maintenance than real wood.
Hardware upgrades
Key hardware improvements that increase lifespan and performance:
- Replace steel rollers with sealed-bearing nylon rollers for 25–50% noise reduction and smoother travel.
- Swap rusty hinges for galvanized or stainless steel hinges; ensure hinge gauge matches panel thickness.
- Update handles and decorative straps with forged or powder-coated fittings to prevent corrosion.
- Consider a new opener or modernize with a belt-drive opener for low noise and better acceleration control.
Painting, staining, and windows
Painting: strip flaky coatings, sand to 120–150 grit, apply a rust-inhibiting primer on steel, then two coats of 100% acrylic exterior paint. Allow 24 hours between coats at 70°F and 50% humidity; longer curing in cold or humid conditions. Staining wood requires primer/sealer first; use exterior grade semi-transparent stain for grain visibility.
Windows add character and daylight. For retrofit window kits, use tempered glass or double-polycarbonate glazing to meet safety standards and thermal needs—see detailed instructions for adding windows to a garage door.
Materials and hardware comparison
| Option | Benefits | Drawbacks | Typical Cost (materials) |
|---|---|---|---|
| Steel panels | Durable, paint-friendly | Rust risk if paint fails | $100–$400 |
| Aluminum | Lightweight, corrosion-resistant | Easily dented | $150–$500 |
| Wood | High-end look, natural warmth | High maintenance | $300–$1,200 |
| Composite | Low maintenance, wood-like | Higher cost than steel | $250–$900 |
Transition: the following section walks you through the step-by-step makeover process with exact actions, times, and safety thresholds.
Step-by-Step DIY Garage Door Makeover Process
Before the numbered steps, remember: replacing torsion springs or re-tensioning cables is dangerous; hire a certified pro unless you have specialized training. For step-by-step replacement and full installation methods beyond a makeover, consult the DIY garage door replacement and installation guide.
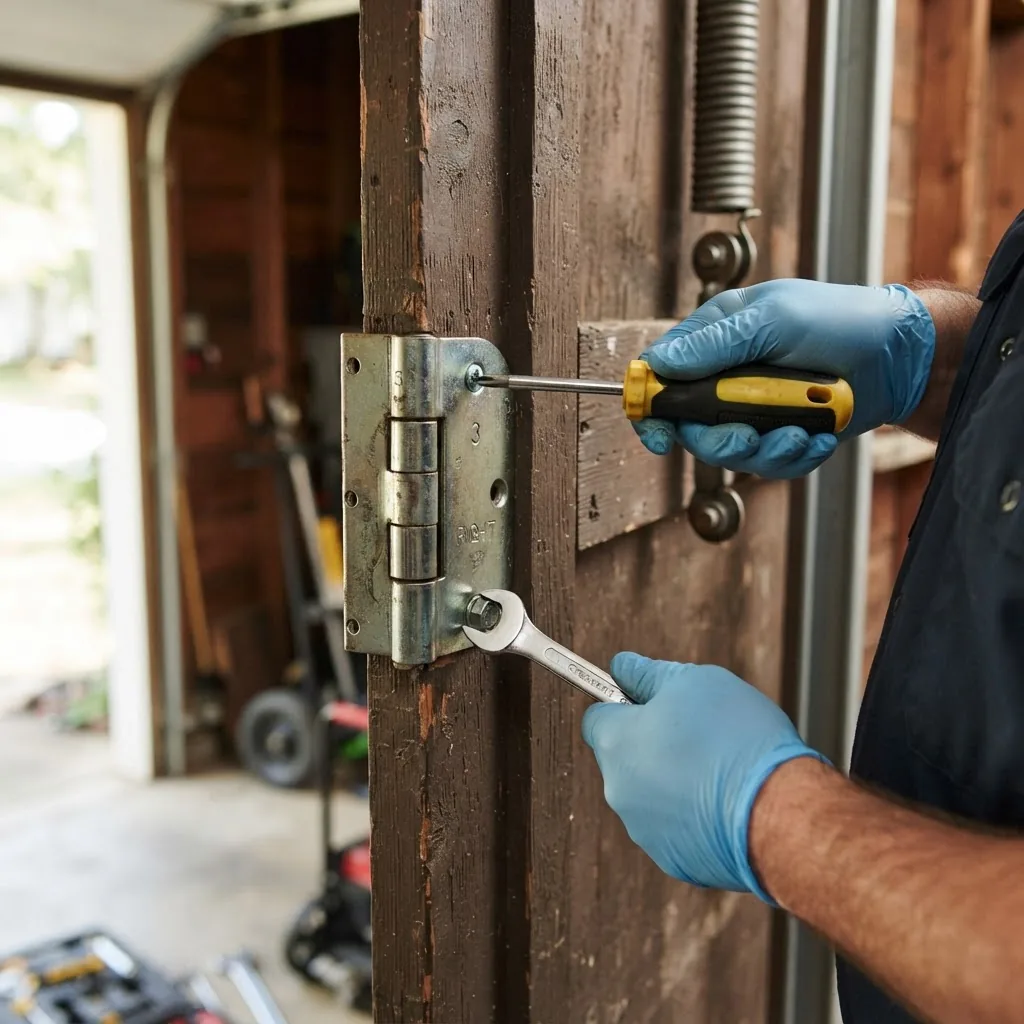
- Assess and document the current condition (1–2 hours).
Set up a workspace with good lighting. Photograph each panel, hinge, roller, spring, and track from multiple angles. Use a notebook to record measurements: door width, height, panel heights, track offsets, spring dimensions (wire diameter, inner diameter, number of turns). These are required for ordering compatible parts.
- Make safety preparations (15–30 minutes).
Disconnect the opener from mains power and disengage the trolley using the emergency release cord. Unplug and place a warning sign on the opener. Set wheel chocks if vehicles are nearby. Wear safety glasses and gloves. If you detect frayed cables or oil on springs, stop and hire a pro.
- Clean and remove loose hardware (30–60 minutes).
Use a wire brush and degreaser to remove surface rust and old lubricant. Remove decorative hardware that will be replaced. Label screws and small parts in zip bags per panel. For stubborn corrosion, use penetrating oil and a 15-minute dwell time before removing fasteners.
- Replace rollers and hinges (1–3 hours).
Support the door with clamps on the track or have an assistant hold the bottom. Remove the hinge bolts and slide out the roller shaft. Install sealed-bearing nylon rollers with the bearing toward the track and tighten bolts to manufacturer torque—typically 8–10 ft-lb for 1/4″ bolts; check the replacement kit instructions. Grease only the bearing races specified; do not over-lubricate.
- Inspect and, if needed, replace weatherseals (30–90 minutes).
Remove the bottom seal: pull out, clean the retainer, and slide in new EPDM rubber or vinyl seals. Replace side and top seals if cracked. For thresholds, cut to width and fasten with stainless screws at 12″ spacing.
- Add insulation panels (2–4 hours).
Measure each panel cavity. Cut 1″ closed-cell polyurethane panels to fit with a 1/8″ clearance. Attach with pressure-sensitive foam tape or adhesive recommended by the panel manufacturer. Do not add insulation that exceeds the rated weight capacity of your springs or openers—if the door is heavy post-insulation, upgrade springs or the opener accordingly.
- Prep surfaces for finish (2–6 hours drying time between coats).
Sand steel doors to remove flaky paint (120–150 grit). For wood, sand to 120 grit then to 180 for the final pass. Clean with a tack cloth and de-greaser. Prime steel with a rust-inhibiting primer and allow 2–4 hours to dry at 70°F. Fill dents with exterior-grade filler; sand smooth before priming.
- Paint or stain (2 coats; 2–24 hours between coats).
Apply one full coat of exterior primer, then two finish coats of 100% acrylic exterior paint or exterior stain for wood. Use a 4″ foam roller for panels and a 2–3″ brush for trim. Typical coverage: one gallon covers 350–400 sq ft. Drying: 2–4 hours between coats at 70°F; allow 24–48 hours for full cure before reinstalling hardware.
- Install windows or trim (1–3 hours).
Cut openings following kit templates, recess foam gaskets, and fasten glazing with stainless screws and supplied retainer strips. Use tempered glass or dual-pane polycarbonate units rated for doors. Seal edges with exterior-grade silicone. For faux carriage trim, mount rails with stainless or galvanized screws and countersink hardware.
- Reinstall hardware and balance the door (30–90 minutes).
Reattach hinges, handles, and straps. Reconnect rollers and test manual balance by disconnecting opener and lifting the door halfway: it should hold position. If it falls or rises, springs need adjustment—this is a professional task unless you are trained. Check cable tension visually; frayed cables must be replaced by a pro.
- Tune the opener and perform safety tests (15–30 minutes).
Reconnect the opener and adjust force and limit settings per the opener manual. Test the auto-reverse using a 2×4 or roll of paper towels across the threshold—door must reverse on contact. Replace or repair openers older than 15 years for improved safety and smart features.
- Final inspection and cleanup (30–60 minutes).
Check all fasteners for torque, confirm seals are flush, and verify even panel spacing. Clean tools and dispose of old parts according to local recycling rules for metal and glass.
Common mistakes and how to avoid them
From my field experience I’ve made and seen mistakes—here are the top ones I correct:
- Underestimating spring danger. I once tried to adjust a torsion spring without the correct winding bars and nearly damaged the shaft; now I always recommend a pro for spring work.
- Skipping measurement steps. I misordered insulation once because I didn’t record panel thickness; I always double‑measure and photograph now.
- Using wrong fasteners. I fitted regular steel screws into galvanized tracks and had corrosion; I always use stainless or hot-dipped galvanized hardware recommended by manufacturers.
- Overloading the opener. Adding heavy insulation without checking spring/opener capacity caused stalling; always compute added weight and confirm spring/opener ratings.
Checklist to verify your work
- Door lifts smoothly manually and holds at midpoint (balance test)
- Auto-reverse activates on contact and by sensor interruption
- All fasteners torqued to manufacturer specs; no loose bolts
- Weatherseals installed with no gaps; threshold secure
- Paint/stain cured; no runs or drips; hardware reinstalled
- New rollers spin freely; no binding in track
- Opener settings adjusted and remote controls paired
When to call a professional
Hire a pro if you encounter any of the following: torsion spring work required, frayed cables, misaligned or bent tracks, major panel structural damage, or if the door’s weight exceeds the opener rating after upgrades. For heavy commercial doors, compare services at commercial garage door installation services to residential offerings.
Also consult a licensed electrician for any wiring beyond simple plug-in opener swaps; improper wiring risks fire and will void many warranties. Manufacturer installation manuals typically specify torque values and opener force limits—always follow those instructions for warranty compliance.
Transition: if you opted for professional help, the next section explains how to select the right contractor.
Professional Garage Door Remodel Services: When to Hire Experts
Some projects are best left to licensed installers: spring replacements, track straightening, heavy glazing, custom inset panels, or any job requiring building-permit-level structural changes. Benefits of professional services include warranty coverage, certified safety testing, and quicker timelines for complex work.
- Pros of hiring professionals
- Reduced safety risk for high-tension elements (springs, cables)
- Access to proprietary replacement panels and matching paint codes
- Warranties on parts and labor
- Faster completion for complex multi-step projects
- Cons and considerations
- Higher cost: expect labor to account for 40–60% of total job cost
- Scheduling lead times (1–4 weeks depending on demand)
- Need to vet contractors for licensing and insurance
How to choose a contractor:
- Request three written estimates with itemized parts and labor
- Confirm business license, liability insurance, and worker’s comp
- Ask for references and check recent photos of similar projects
- Get warranty terms in writing—parts and labor durations
For heavier commercial or industrial doors, compare offerings with commercial garage door installation services; for residential installation standards, see the garage door installation guide and service cost overview.
Transition: after any makeover or pro service, regular maintenance keeps the door functioning and safe.
Maintenance and Troubleshooting After Your Garage Door Makeover
Routine maintenance retains the benefits of a makeover and prevents small issues from becoming safety hazards. Follow a seasonal checklist and a troubleshooting table for common problems.
Routine maintenance tasks (every 6 months):
- Lubricate rollers, hinges, and pivot points with silicone or lithium spray—avoid grease on tracks
- Inspect cables, springs, and rollers for wear; look for fraying or rust
- Clean and reapply exterior paint touch-ups to prevent corrosion
- Check weatherstrips and replace if brittle
- Test auto-reverse and photoelectric eyes monthly
Safety and standards: follow consumer-safety guidance available at the Consumer Product Safety Commission and adhere to manufacturer recommended maintenance intervals. If you installed insulation to improve energy efficiency, consult ENERGY STAR materials on effective R-values and air-sealing for garage doors.
Troubleshooting checklist
- Door is noisy: Check rollers and hinges; replace steel rollers with sealed-bearing nylon rollers.
- Door doesn’t close fully: Adjust limit switches on the opener; check for obstructions and sensor alignment.
- Door binds when closing: Inspect track alignment and remove debris; if track is bent, call a pro.
- Increased energy loss: Inspect insulation adhesion and seal continuity; add threshold or side seals if gaps are visible.
- Loose panels or sagging: Tighten hinge fasteners and check for rot in wood panels; replace salvageable components promptly.
Manufacturer and safety guidance: always consult the door’s manufacturer manual for torque specs and lubrication intervals. For legal safety standards and recalls, check CPSC recall lists.
Transition: budget-wise, here’s how makeovers typically compare in price and time against full replacements.
Cost Guide and Timeline Expectations for Garage Door Makeovers
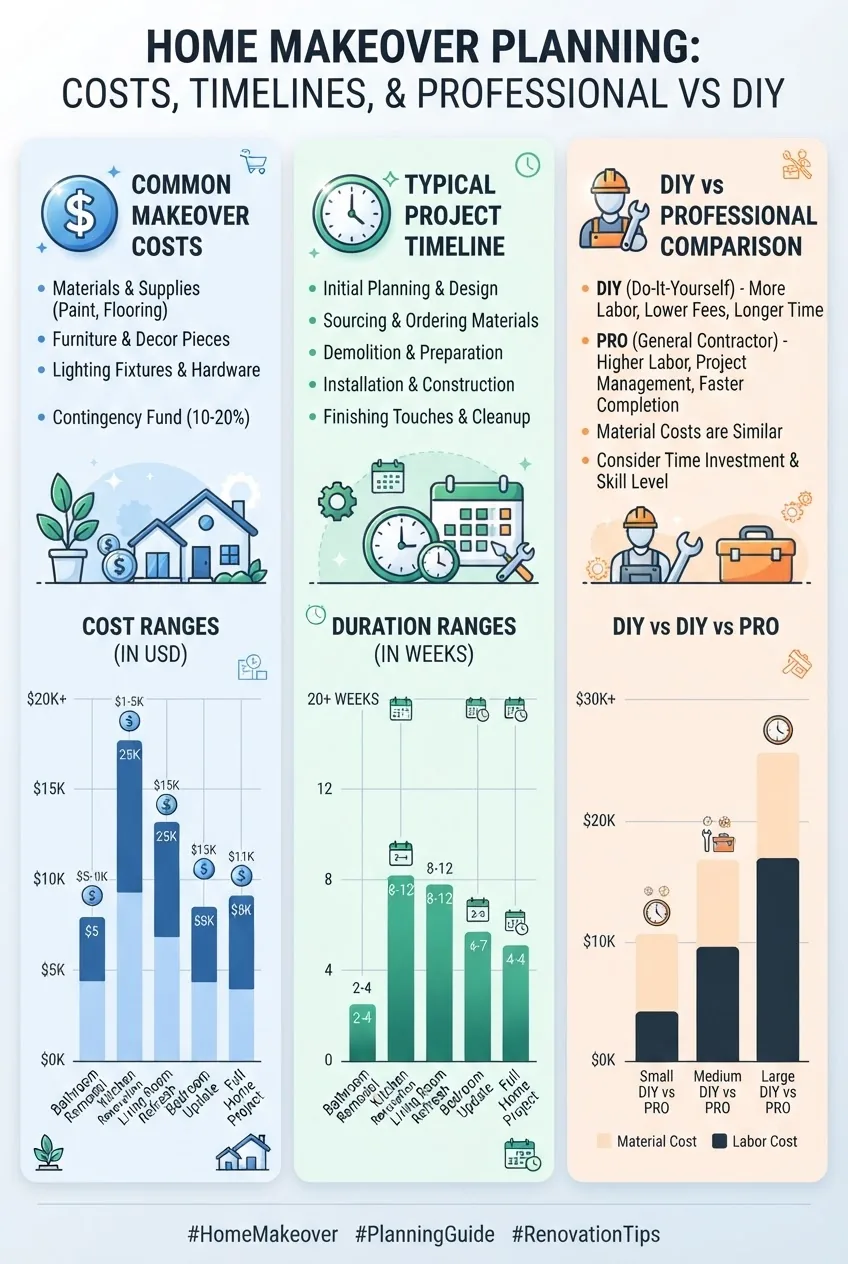
Stat block (typical ranges, 2024 industry data):
- Minor cosmetic makeover: $150–$600 (1–2 days)
- Hardware + insulation upgrade: $400–$1,200 (2–4 days)
- High-end makeover (windows, trim, professional finish): $1,200–$3,000 (3–7 days)
- Professional labor rates for garage door technicians: $75–$150/hour (varies by region) according to a 2024 industry report
When a makeover is less expensive than replacement: if the door structure and track are sound, a makeover typically costs 20–40% of a full replacement. For a detailed comparison when deciding between upgrading and replacing, consult the 2 car garage door replacement cost guide and use the garage door installation cost calculator to refine your budget.
Cost-saving tips:
- Do cosmetic prep and paint yourself; hire pros for spring/cable work.
- Buy hardware kits in sets to lower per-piece cost by 10–20%.
- Schedule work in shoulder seasons to avoid high contractor demand.
Transition: finally, some design inspiration and trends to guide aesthetic choices.
Design Inspiration and Trends for Garage Door Remodels
Current trends emphasize mixed materials, smart hardware, and finishes that complement architectural lines. Here are practical ideas that have strong curb appeal and are easy to execute in a makeover:
- Modern minimal: Smooth insulated steel panels, matte paint tones (deep greys and navy), flush faux windows. Keep hardware unobtrusive with concealed hinges.
- Farmhouse and craftsman: Wood overlays or composite planks, saucer or carriage-style faux hardware, black matte hinges. Use semi-transparent stains to show wood grain.
- Mid-century modern: Horizontal wood slats or metal slats, long slim windows near the top, and warm natural stains.
- Eco-friendly options: Use low-VOC paints, composite wood alternatives that avoid old-growth lumber, and add insulation to reduce HVAC loads—ENERGY STAR resources show how insulation reduces heat loss.
- Vintage restoration: Reproduce original hardware details, use historically accurate paint palettes, and restore any salvageable wood panels.
Illustrative examples:
- A suburban colonial: steel door painted to match shutters with a board-and-batten overlay—budget $400–$900.
- A craftsman bungalow: stained composite with glass-lite windows—budget $900–$1,800.
- Contemporary townhouse: flush panels and black metal trim with keypad and Wi-Fi opener—budget $1,200–$2,500.
Design rule of thumb: pick one focal accent (color, hardware, or windows) and keep other changes restrained to avoid a cluttered look.
Transition: time to wrap up with what matters most and a clear next step.
Conclusion
Key takeaways: a garage door makeover can dramatically boost curb appeal, improve function, and extend the life of an otherwise healthy door at a fraction of replacement cost. Prioritize safety-critical hardware first, plan materials and timelines carefully, and match the upgrade scope to your DIY skill level. If your project includes torsion spring work, heavy glazing, or structural repairs, hire a licensed professional. Ready to start? Gather the tools, take measurements, and begin with the assessment step above.
Call to action: If you want a full replacement reference or cost comparison, review the replacement guides and calculators linked in the cost section to see if a full replacement is necessary for your situation.

