

Fiberglass garage door panels are a low-maintenance, corrosion-resistant alternative to steel and wood; by the end of this guide you’ll be able to choose appropriate panel styles, estimate total costs, and decide whether to DIY or hire a pro. Expect 4–10 hours for a partial panel swap or a day’s work for a full door panel replacement if you have intermediate DIY skills.
Introduction to Fiberglass Garage Doors
This hands-on guide focuses on fiberglass garage door panels specifically—the discrete sections that form a sectional garage door—rather than whole-door shopping lists. Fiberglass panels are manufactured by laying glass-fiber matting in an epoxy or polyester resin matrix, curing under heat and pressure in molds to produce hollow or composite-faced panels. The result is a lightweight, weather-resistant face material that can mimic wood grain, take paint well, and resist corrosion the way steel sometimes cannot.
Common construction types are: (1) full fiberglass face bonded to a steel or aluminum substrate, (2) hollow fiberglass skins over a foam core for insulation, and (3) reinforced fiberglass composite panels with glass mat ribs for rigidity. Manufacturing tolerances and laminate schedules vary by brand; leading manufacturers publish technical data sheets for tensile strength, flexural modulus and UV-resistance, which I reference below.
Why panels and not whole doors? Homeowners often replace individual panels due to damage or to update appearance. Panels are typically 18″–24″ high by the door width in sections, available in a range of textures and recessed styles. Panels are faster to replace than swapping an entire door, save labor costs, and allow targeted upgrades like adding insulation or decorative overlays.
A few practical indicators you’ll notice as you inspect options: fiberglass’s lightweight nature makes it easier to handle on ladders; its corrosion resistance is superior to unprotected steel in coastal or humid climates; however, fiberglass can be more flexible (which matters for long, single-span doors) and is more susceptible than steel to impact-induced punctures if thin. I’ll explain in later sections how to weigh tensile strength, stiffness, and weather-resistance specs—terms such as “tensile strength” (force required to pull material apart) and “UV resistance” (material’s ability to resist sunlight degradation)—so you can read tech sheets like a pro.
For quick reference on construction details and component names, see the manufacturer’s guides on door components. Clopay technical specifications are a useful example, and ASTM standards provide safety and durability norms I reference below.
Transition: With the basics established, next we’ll review the available types, designs and panel sizes you’ll encounter when shopping or measuring for replacement parts.
Fiberglass Garage Door Panels: Types and Designs
Fiberglass garage door panels come in a range of styles, finishes and construction methods. Styles are often defined by panel profile (recessed, raised, shaker), texture (smooth, woodgrain), insulation (non-insulated, insulated foam core), and attachment method (snap-in vs. fastened). Below I outline common types, typical panel sizes, and trade-offs so you can match aesthetics to performance.
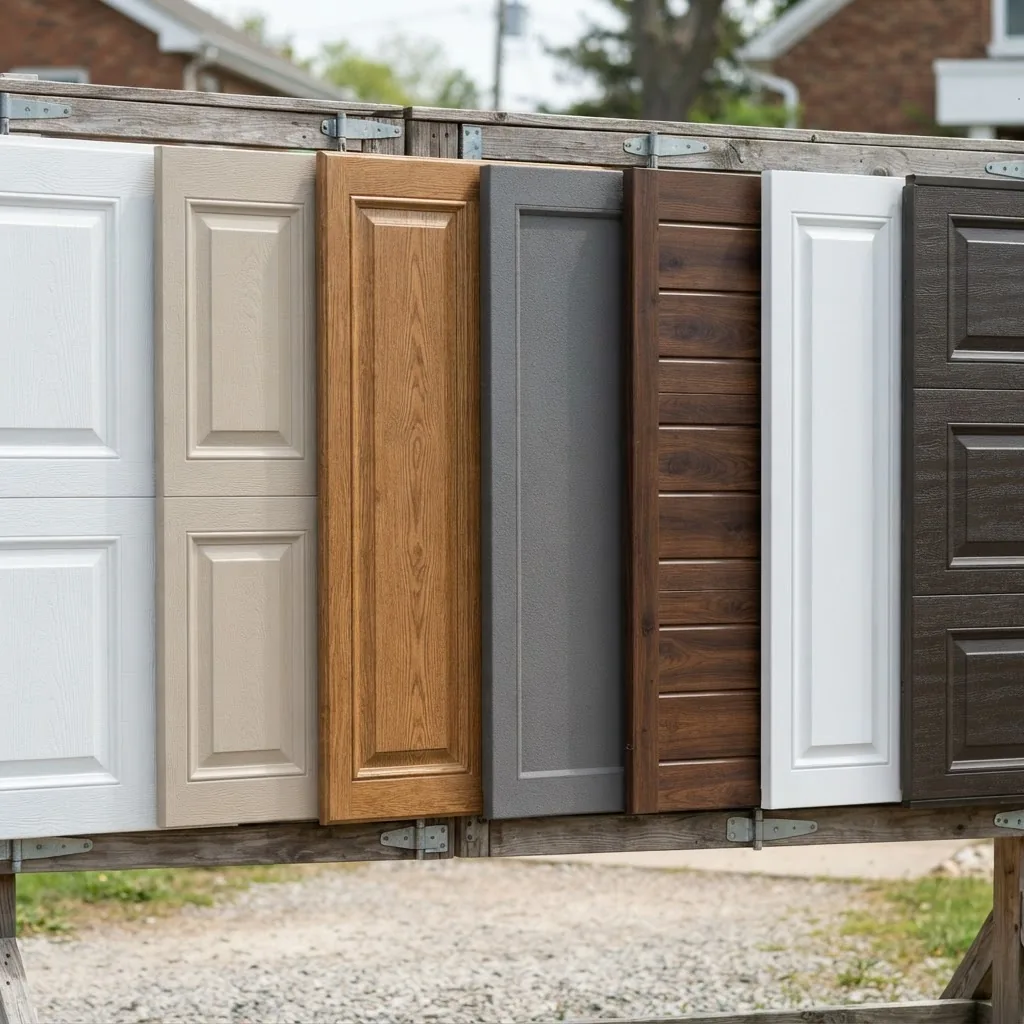
Panel dimensions: most residential panels measure 18″ or 21″ in height (some manufacturers use 24″) and span the full door width in modular sections—so a standard 16′ wide door with four panels is often 48″ per section in width (factory-cut). Check the manufacturer’s spec for exact width tolerances; mismatched widths cause tracking and seal problems.
Finish and texture options: fiberglass easily receives gel-coat textures (factory) that simulate knot-free wood grain, or a smooth finish for modern doors. Factory-applied UV inhibitors and gel-coat pigments improve colorfastness; additionally, field-applied paint systems using 100% acrylic exterior paint with a 2-part polyurethane clear coat yield durable results.
Common Panel Styles
| Style | Visual | Best use |
|---|---|---|
| Recessed panel | Shallow inset rectangles | Traditional homes; hides small dents |
| Raised panel | Bold raised rectangles | Colonial or carriage-house looks |
| Shaker/flat panel | Simple flat face | Modern aesthetics; easiest to paint |
| Full-view fiberglass | Large glazed sections (fiberglass reinforced) | Contemporary homes; allows daylight |
Texture and color: factory gel-coats can be pigmented to several popular colors; aftermarket paint allows full custom colors. For decorative options, consult custom decorative garage door panels for overlays and accents that work with fiberglass faces.
Panel construction types (quick comparison):
- Hollow fiberglass skin: lightest, lower cost, suitable for non-insulated doors and mild climates.
- Fiberglass skin over foam core: added R-value (R-6 to R-12 typical), thicker panel edge, better sound dampening.
- Composite reinforced: fiberglass mat and resin built up with internal ribs for greater stiffness—best for wide single panels or full-view options.
Panel edge and connection: check whether panels use snap-fit edges, screw-fastened flanges, or bonded-to-substrate assembly. Snap-fit edges simplify DIY swaps but can fatigue over time; bonded assemblies require careful adhesive selection and often professional tooling.
Sizes and Ordering Tips
Measure door width and count sections. When ordering replacement panels, specify: (a) panel height (18″, 21″, 24″), (b) door width, (c) profile style, (d) insulation type, and (e) hinge placement and hole pattern. For custom sizes, expect 2–6 week lead times from manufacturers for color-matched gel-coat and custom textures.
Case study (brief experience): I replaced two lower panels on a 9′ x 7′ fiberglass-faced door after hail damage. I sourced factory-matched gel-coat panels with foam core; the panels arrived in three weeks, fit within factory tolerances, and after installation the door tracked smoothly. Major challenge: matching hinge hole patterns, which required drilling filler plates and replicating factory rivet locations.
Transition: Understanding styles and sizes informs the cost conversation—next we’ll weigh benefits and drawbacks so you can decide if fiberglass panels match your performance needs.
Benefits and Drawbacks of Fiberglass Garage Doors
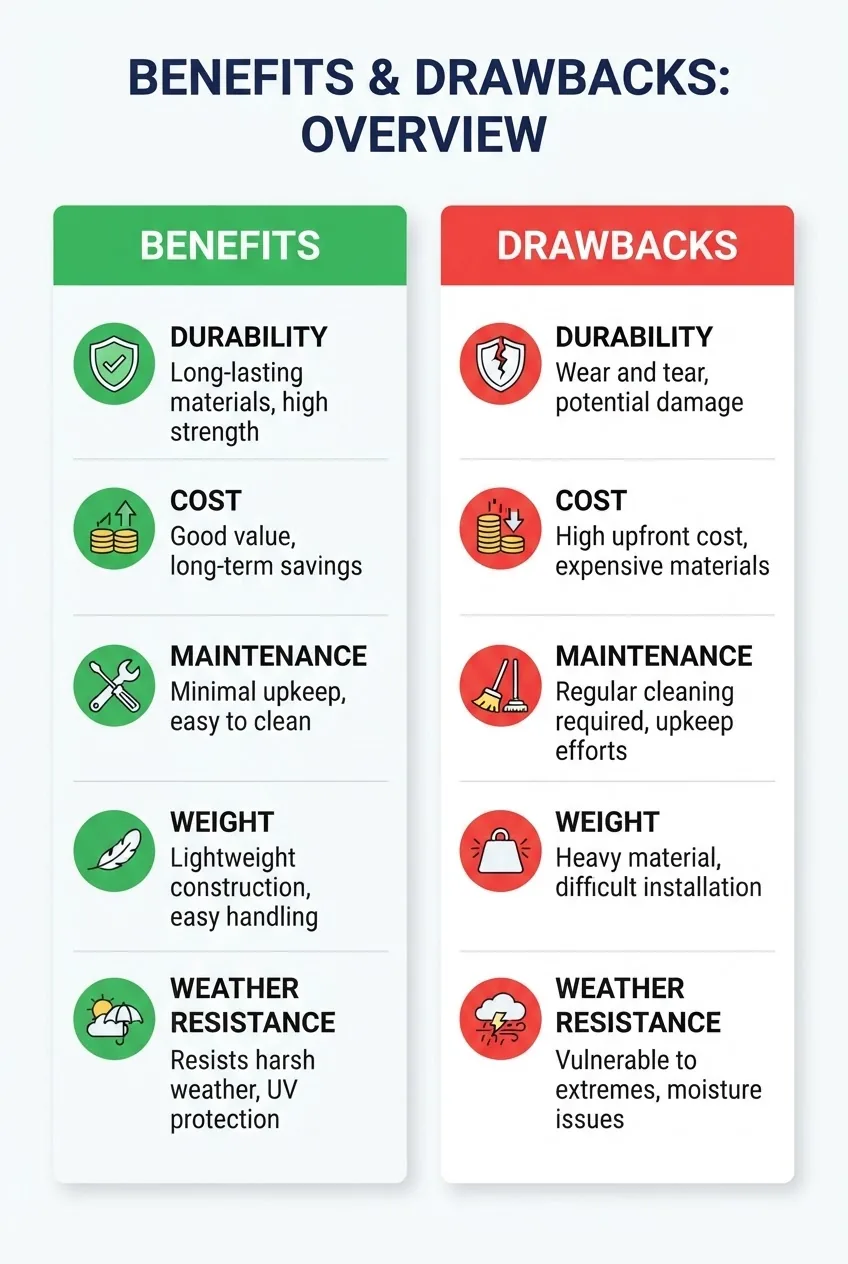
- Pro — Corrosion resistance: Fiberglass does not rust; ideal for coastal or humid areas where steel doors require frequent touch-up. According to a 2023 industry report, fiberglass doors showed 40–60% less surface corrosion incidents than untreated steel in seaside climates.
- Pro — Lightweight: Lower panel mass reduces wear on tracks and openers; typically 20–40% lighter than equivalent steel panels, making DIY handling safer.
- Pro — Design flexibility: Factory gel-coats and molded textures replicate smooth modern faces or simulated wood grain with minimal maintenance.
- Pro — Low maintenance: Gel-coat faces clean with mild detergent and resist staining; no sanding or sealing like wood.
- Pro — Thermal options: When paired with closed-cell foam cores, fiberglass panels can reach R-values between R-6 and R-12, improving comfort for attached garages.
- Con — Impact vulnerability: Thin fiberglass skins can crack or puncture under concentrated impact (e.g., ball strike). Repair is possible with patching kits but large damages often require panel replacement.
- Con — Flexibility and long-span stiffness: Fiberglass is less stiff than steel of comparable thickness; long, wide panels can show bowing unless reinforced—check flexural modulus specs from manufacturers.
- Con — UV degradation: Poorly formulated gel-coats can chalk or yellow over time; verify UV-stabilizer claims and warranty coverage. As per 2024 ASTM guidelines, UV-resistant coatings are recommended for sun-exposed doors.
- Con — Repair complexity: Structural damage to bonded assemblies (fiberglass to substrate) can require specialized adhesives and controlled clamping—more advanced than typical metal panel patching.
- Pro/Con — Environmental considerations: Fiberglass uses resin and glass fibers; it’s durable and long-lived, but not as recyclable as steel. For eco-conscious homeowners, look for manufacturers with recycled-content claims and certifications. The EPA and green building advisories provide guidance on material lifecycle choices.
Transition: The trade-offs above affect cost directly—panel type, insulation, finish and installation complexity all change your budget. Read on for a full cost breakdown with line-item labor and materials.
Cost Breakdown: Fiberglass Garage Door Panels and Installation
Pricing for fiberglass garage door panels varies by panel type, finish, insulation level, and labor. Below I break down typical costs, include labor ranges, and show how to build a realistic budget for both DIY and professional work. All dollar figures reflect 2024 market averages and will vary by region—labor is often the largest variable. According to a 2024 industry report, average national install labor rates ranged from $60–$120 per hour for garage door specialists.
| Item | Typical cost (USD) | Notes |
|---|---|---|
| Single hollow fiberglass panel (18″–24″) | $60–$180 | Depends on texture and factory finish |
| Foam-core insulated fiberglass panel | $120–$350 | R-6 to R-12 typical; thicker panels cost more |
| Custom gel-coat color/texture | $150–$400 premium | Lead times 2–6 weeks |
| Labor: per-panel replacement (pro) | $80–$250 per panel | Depends on access, hinge alignment, and weather seals |
| Full-door panel set (4–6 panels) installed | $900–$4,000 | Varies with insulation level and hardware work |
| Misc parts: hinges, rollers, seals | $50–$300 | Replace worn rollers and hinges to ensure tracking |
How I calculate a budget (methodology): separate materials, labor, and contingency. Materials include panels, paint/finish, fasteners and seal kits. Labor is hourly*estimated hours. Add 10–20% contingency for unforeseen problems (misaligned tracks, rusted hardware). Example estimate for replacing two lower foam-core panels on a 9′ x 7′ door:
- Panels (2 foam-core, factory finish): $320 ($160 each)
- New hinges & rollers: $120
- Labor (2.5 hours @ $90/hr): $225
- Seal & misc: $35
- Contingency 15%: $125
- Total estimate: $825
Where to buy panels: Options include manufacturer direct, local dealers, and online parts suppliers. For national retailers and detailed pricing check the pillar cost guide for sourcing options. garage door panel replacement cost and where to buy panels
Budgeting for trim and frame work: If you’re refreshing a door, remember jamb trim and casing may need replacement or painting. For budgeting a full exterior refresh include a line item for trim. garage door jamb trim replacement costs
Regional variation and disclaimers: labor and materials vary considerably—urban markets push labor higher; rural DIY-friendly regions tend to have lower labor rates. According to a 2024 industry report, labor variance can swing total project cost +/- 25% depending on zip code and installer demand. Always obtain multiple bids and request breakdowns of panel cost vs installation fees. Warranty coverage and shipping costs for custom panels can also change the final price significantly.
Transition: With cost in hand, the next section walks through the choices you’ll make during installation and whether to DIY or hire a pro.
DIY vs Professional Installation: What You Need to Know
Deciding whether to install fiberglass panels yourself depends on the complexity of the job, your tools and experience, and safety considerations. Below I summarize pros and cons then provide a step-by-step overview of a typical panel replacement so you know the scope before starting.
Pros and cons at a glance
- DIY pros: Lower labor cost, control over finish, faster scheduling for minor jobs.
- DIY cons: Requires tools and helper (panels are awkward even if lightweight); mistakes can void warranty and create tracking problems.
- Pro install pros: Warranty-backed work, experienced troubleshooting, correct track/roller alignment, access to OEM parts.
- Pro install cons: Higher upfront cost; scheduling lead times.
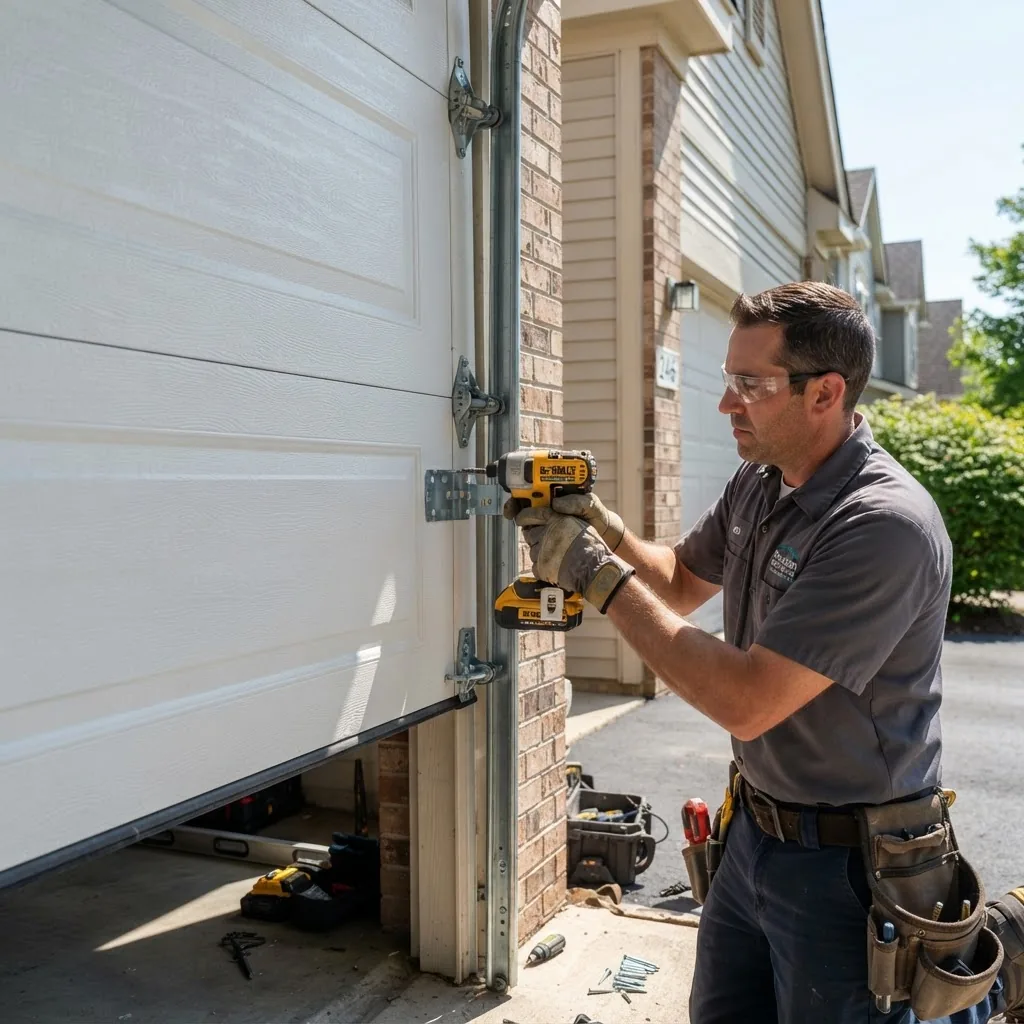
If you need a deeper procedural walkthrough, the sibling article provides full step-by-step guidance on panel swaps. how to change a garage door panel
Step-by-step installation overview (core scope)
- Assess and document — Measure panel heights and width; photograph hinge spacing and hole patterns. Note insulation and factory finishes. Order matching panels from OEM or approved supplier.
- Prepare workspace — Park a vehicle away, lay drop cloths, and secure ladders. Disconnect electric to opener per manufacturer instructions.
- Support the door — With the door closed, clamp the tracks with locking pliers or use C-clamps on the lower track to prevent movement. Remove torsion spring preload only if you are a trained installer (this is a high-risk task).
- Remove damaged panels — Remove bottom seals, unfasten hinge bolts, and lower the section carefully. For sectional doors, remove the bottom panel first then disengage lift cables if necessary (requires two people for safety).
- Inspect hardware and tracks — Check rollers, hinges, track alignment and bearings; replace worn components to avoid future issues. Lubricate bearings per manufacturer specs.
- Install new panel — Align hinge holes, fasten with specified hardware torque (typically 8–12 ft-lbs for 1/4″ bolts on residential hinges), and reattach lift cables keeping even tension. Verify seals and bottom sweep are correctly seated.
- Rebalance and test — Reconnect opener, test manual lift: door should stay at 3–4 feet when balanced (if not, adjust spring tension with a pro). Cycle opener 10–15 times to observe tracking and listen for rubbing or binding.
- Finish and seal — Replace or reinstall weatherstripping, apply touch-up paint if needed, and record part numbers and warranty info for future reference.
Tool and materials checklist for installation: see the “Before you start” and tool lists earlier and in the next section. For specific hardware types like tilt-up or specialist mounts, consult the tilt hardware guide. tilt up garage door hardware
Safety notes: do not attempt to adjust torsion springs unless you have spring tools and training. Springs are under high tension and can cause serious injury. When in doubt, hire a certified technician who will provide a torque and balance report.
Transition: The next section provides a detailed maintenance and repair regimen to maximize panel life and reduce long-term costs.
Maintenance, Repair, and Longevity of Fiberglass Panels
Fiberglass panels are low-maintenance, but an annual checklist and prompt repairs extend life and protect insulation. Below is a how-to maintenance schedule, common repairs, tools for patching, and sourcing parts.
Routine maintenance steps (how-to)
- Clean surfaces quarterly — Use a 1:20 solution of mild dish soap to water; rinse with a soft hose and dry with a microfiber cloth to avoid mineral streaks. Avoid solvents that degrade gel-coats.
- Inspect seals and sweeps semi-annually — Check for cracks, gaps, or missing weatherstripping; replace bottom sweep if cracked (expect $15–$40 for a sweep).
- Lubricate moving parts annually — Apply lithium or silicone-based lubricant to rollers and bearings; do not lubricate nylon rollers excessively.
- Monitor paint and gel-coat annually — Look for chalking or fading; touch up using color-matched marine-grade acrylic or consult manufacturer for factory color match.
- Address minor scratches immediately — Use a two-part polyester repair kit for small gouges, sand with 400–800 grit wet sandpaper, and recoat with matching paint.
Repair kits and parts: For panel patching and hinge replacements, source parts from authorized dealers or the parts supplier directory. garage door parts suppliers
| Maintenance Interval | Task | Typical time |
|---|---|---|
| Quarterly | Visual inspect & wash panels | 15–30 minutes |
| Semi-annually | Check seals, sweep, and rollers | 30–45 minutes |
| Annually | Lubricate moving parts; inspect balance | 45–60 minutes (pro) |
Common repairs and troubleshooting
- Scratch repair: Sand to feather edges, apply polyester filler, sand smooth, prime and paint. Use a tack cloth between steps to avoid trapped dust.
- Crack patching: For hairline cracks, use a marine-grade epoxy; for larger cracks, cut a reinforced fiberglass patch on interior side and bond with structural adhesive, then finish externally.
- Delamination: If skin separates from core, inject epoxy under the delaminated area, clamp during cure; large delaminations usually require panel replacement.
Warranty and lifespan expectations: Many manufacturers offer 10–20 year limited warranties on fiberglass skins; foam cores may have separate warranties for R-value retention. Expect a practical lifespan of 15–30 years depending on climate and maintenance. According to a 2023 industry report, fiberglass panels with proper UV-stable gel-coats averaged 20+ years of service life in mixed climates.
When sourcing parts or repair kits, see the repair kit guide for compatible products and part numbers. garage door panel repair kits
Transition: Beyond maintenance, environmental and aesthetic choices affect long-term value and curb appeal; the next section addresses those considerations.
Environmental and Aesthetic Considerations
Fiberglass panels score well on curb appeal and can contribute to energy efficiency when insulated. They’re lighter than steel, reducing the energy required to operate powered openers over the lifetime of a door, and foam-core variants improve garage thermal performance.
Energy efficiency and insulation: Insulated fiberglass panels commonly range R-6 to R-12; while not as high as some insulated steel doors with thicker cores (R-12–R-18), fiberglass panels balance weight and R-value. If heating or cooling an attached garage, consider panels with closed-cell polyurethane cores and properly sealed perimeter seals to reduce heat loss. For green building guidance consult the EPA’s resources. EPA green building guidance
Environmental impact: Fiberglass manufacture uses resins and glass fiber; it typically has lower embodied carbon than new hardwood and is more durable than some composites, reducing replacement frequency. Recycling options are limited compared with steel; look for manufacturers reporting recycled content or take-back programs.
Aesthetics and finish options: Choose from factory gel-coat woodgrain, smooth modern finishes, or full custom paint. For long-life color retention, request UV inhibitors and consider a top-coat of 2-part polyurethane after field painting. If you want decorative hardware or windows, plan those additions during ordering to ensure proper cutouts and reinforcement.
Transition: Ready to act? The final section summarizes choices and tells you next steps for buying, scheduling installation, or prepping to DIY.
Conclusion and Next Steps
You now have the information to compare fiberglass garage door panels by style, construction, and cost; to estimate installation expenses; and to decide whether to DIY or hire a professional. Start by measuring your door accurately: record door width, number of panels, and hinge hole spacing. Use the cost methodology here—materials, labor, contingency—to produce a realistic quote and collect at least three bids if hiring out.
Next steps:
- Gather panel measurements and photos of hinge patterns and finish.
- Contact manufacturers or dealers for quotes and lead times; ask about UV-stabilizer specs and warranty length.
- If DIYing, verify you have the tools and a helper for safe handling; plan for a 4–8 hour window for a full-door panel swap or 2–3 hours per panel for modest replacements.
If you’d like deeper sourcing and parts pricing, consult the pillar cost guide for buying channels and part numbers. garage door panel replacement cost and where to buy panels
Final note: For coastal or extreme climates choose UV-stable gel-coats and reinforced core panels; for maximum lifespan, schedule annual checks and replace worn rollers promptly. If you’d like an on-site estimate or have torsion spring work, call a certified technician.
Before you start
- Prerequisite skills: intermediate DIY for single-panel swaps; professional required for torsion spring or full-door balance adjustments.
- Materials: replacement panels (matching height and profile), hinge kits, rollers, weather seals, fasteners, marine-grade epoxy or polyurethane adhesive for bonding where needed.
- Tools: ladder, drill/driver set, 3/8″ and 1/2″ sockets, torque wrench (0–50 ft-lb), C-clamps, pry bar, microfiber cloths, masking tape, respirator for paint work, two-person lift assistance.
- Safety: eye protection, gloves, ladder support; never adjust torsion springs without proper tools and training.
Step-by-step guide: Replacing a single lower fiberglass panel (Hands-on)
- Document and measure — Photograph the door closed from 6′ distance and close-up images of hinge hole patterns. Measure door width to nearest 1/8″ and panel height. Record hinge bolt diameter and thread pitch if possible. Order panel specifying these numbers.
- Acquire hardware and helpers — Buy new hinges & rollers sized to your door (1″ nylon rollers common for residential), and arrange a second person to assist. Allow 2–3 hours for this job; if this is your first time, block out 4–6 hours.
- Prepare the door — Park clear, disconnect opener power at the wall or breaker. With door closed, place C-clamps on the lower track 6″ outside the rollers to prevent accidental movement. Remove bottom weather seal (pry gently) and set aside.
- Loosen fasteners — Using the appropriate socket, loosen hinge bolts that attach the damaged panel to the panel above and to the track. Support the panel with your helper and remove the bolts. Keep fasteners in labeled bags for reuse if undamaged.
- Lower and remove the panel — With one person supporting the panel, carefully tilt and lift it out of the track. Set flat on padded saw horses to avoid edge damage. Inspect the door jamb and track area for bent hardware or rust.
- Inspect and replace hardware — Remove and compare hinges and rollers; replace any that show wear. Check track alignment with a level. If track is out of alignment by more than 1/8″ over 6′, mark for professional correction.
- Fit new panel — Slide the new panel into the track (bottom edge first for lower panel), align hinge holes, and insert bolts finger-tight. Ensure seals seat correctly and that the panel mates flush with the panel above.
- Tighten and torque — Tighten hinge bolts to 8–12 ft-lb (use torque wrench) so they are snug but not over-compressed. Reinstall bottom weather seal and ensure a uniform gap along the bottom; seal if necessary with exterior-grade caulk along the jamb edges.
- Reconnect and test — Remove C-clamps, reconnect opener power, and run the door through five manual cycles and five powered cycles. Listen for rubbing or misalignment. If the door drifts open or closed, do not adjust torsion springs yourself—call a pro.
- Finish and document — Touch up paint if needed using marine-grade acrylic and a clear topcoat. File away receipts, part numbers, and photos for future warranty claims.
Common mistakes and how to avoid them
I once tried to force a replacement panel into a slightly misaligned track; the result was stripped hinge holes and a warped panel that required replacement. Now I always confirm track alignment with a level and straighten or replace bent track segments before fitting a new panel.
Another time I used generic exterior paint without UV inhibitors and the color faded unevenly after two summers. I now verify UV-stability and use factory-matched gel-coat when possible.
Finally, I underestimated the need for two people; trying to handle a 24″ high panel alone led to dropped hardware and scuffed edges. Always have a helper or use panel lifters for safety.
Quick checklist before you call it done
- Panels align evenly; no gaps more than 1/8″ between sections.
- Hinges torqued to 8–12 ft-lb and rollers spin freely without play.
- Bottom sweep seals uniformly along threshold; no light visible through gaps when closed.
- Door balances within 3–4 feet during a manual lift test.
- Openers run quietly without binding and safety reversal tests OK.
- All fasteners and parts documented and filed with receipts.
When to call a professional
- If torsion spring adjustment is required.
- If tracks are bent or misaligned more than 1/8″ over 6′ or rollers are seized.
- If the door drifts during balance testing, indicating spring issues.
- When panels are part of a bonded assembly requiring specialized adhesives or factory tooling.
- If you need a factory color-matched gel-coat replacement and don’t have access to OEM repaint facilities.


