When improvement ideas for your new house become a topic of discussion, DIY projects that both beautify your space and increase your functionality certainly take center stage. One such value-adding venture is learning how to build a retaining wall with Geogrid.
A well-constructed retaining wall can drastically transform your outdoor space, providing both aesthetic and practical benefits, such as soil erosion prevention, improved water drainage, and the creation of usable space on sloped lands.
The addition of geogrid further escalates the strength and durability of your retaining wall.
Understanding Retaining Walls and Geogrids
What Is A Retaining Wall?
A retaining wall is a structure that holds or retains soil behind it.
These walls can take on a variety of forms and serve multiple purposes—from adding a decorative element to your garden to providing a functional solution for preventing soil erosion or managing water flow.
Retaining walls can be a powerful tool for transforming your living space into an area that is as beautiful as it is practical.
What Is A Geogrid?
Geogrids are geosynthetic materials created from polymers. With a typical design resembling an interconnected web of strands, they provide a system that strengthens and stabilizes the earth.
When integrated into retaining wall construction, geogrids act as a reinforcing agent, enhancing the wall’s overall strength and resilience to the pressures exerted by the earth behind it.
Choosing The Right Materials
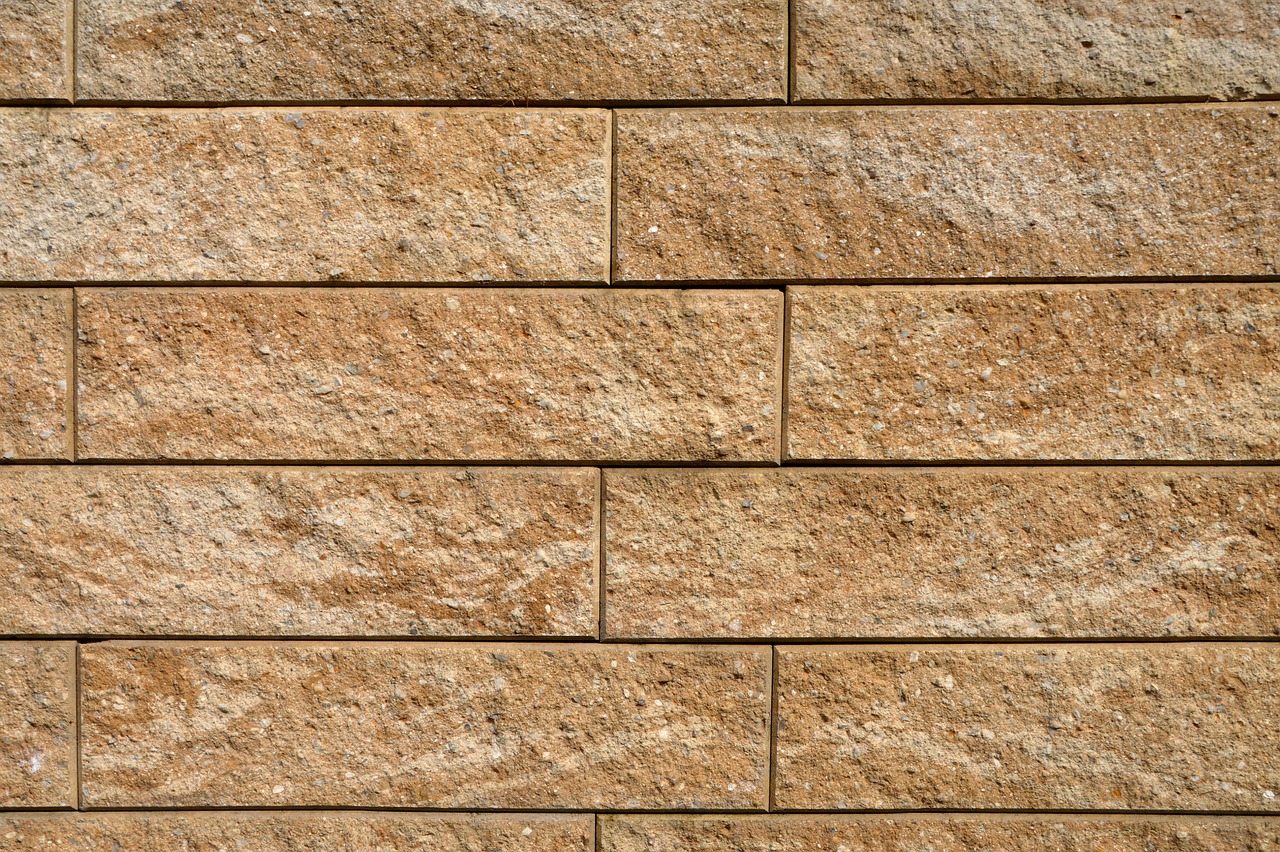
Retaining Wall Materials
The materials you choose for your retaining wall will significantly affect its appearance, cost, durability, and installation process.
Options include concrete blocks, poured concrete, treated timbers, rocks, or boulders.
Each of these materials has unique attributes and benefits, so weighing these against your project needs, aesthetic preferences, and budget constraints is essential.
Selecting the Right Geogrid
Choosing the appropriate geogrid involves considering various factors, including the size of your wall, the soil type behind it, and the load it will bear.
It’s important to note that not all geogrids are created equal. They come in different strengths and grid sizes, and their selection must suit your project requirements.
Consulting with a geotechnical engineer or landscape architect can provide valuable insights and recommendations.
Preparing Your Work Area
Site preparation is a crucial step in the process. This involves clearing the work area of vegetation, rocks, and other potential obstructions. Depending on the size of your retaining wall and the slope of the ground, you may need to consider soil excavation and grading to create a stable base.
You’ll also need to determine the exact layout of your wall by marking out the area with stakes and strings, ensuring you have a clear guide when you start construction.
Steps to Build a Retaining Wall with Geogrid
Step 1: Marking and Excavation
Using stakes and a string line, or spray paint, define the area where your wall will be. You’ll then need to dig a trench about 6 inches deep and twice as wide as the blocks or material you use for your wall.
This space is vital to provide a stable base and ensure adequate room for backfill and drainage.
Step 2: Laying the Foundation
Once your trench is dug, it’s time to lay the foundation. This typically involves a layer of gravel or crushed stone that is compacted to form a solid base.
The thickness of this base layer may vary depending on the size and weight of your wall, but a depth of around 3 inches is generally recommended.
Step 3: Starting the Wall
The first course or layer of your wall is crucial, as it sets the tone for the rest of the wall. Start placing your blocks or stones from one end to the other, meticulously checking that each piece is level.
Using a rubber mallet, tap each piece into place securely.
Step 4: Installing the Geogrid
After the first layer is complete, you’ll install your first course of geogrid. It should be rolled out perpendicular to the wall and stretched tight to eliminate any slack.
Use pins or specific connectors to securely attach the geogrid to the blocks. Trim off any excess material beyond the length required for adequate soil coverage.
Step 5: Continuing the Wall
With the first layer and geogrid installed, continue building your wall by repeating these steps. A general rule is to incorporate a layer of geogrid every 2-3 layers of blocks or stones.
Also, remember to backfill with drainage gravel behind the wall to avoid water build-up which can increase pressure on the wall.
Step 6: Finishing the Wall
When the wall reaches the desired height, finish it off with a final layer or capstone. This not only adds a clean, finished look to your wall but also helps to protect it from the elements and adds extra stability.
Safety Measures and Tips
Safety should be a priority when constructing a retaining wall. Always wear proper safety gear, such as gloves, safety glasses, and sturdy boots. Be mindful of your body’s limitations, especially when lifting heavy materials or operating machinery.
If the wall is particularly large or the site’s conditions complex, consider hiring professionals to ensure the wall is built safely and correctly.
Maintaining Your Retaining Wall
Regular maintenance of your retaining wall will ensure its longevity and functionality. This involves routinely inspecting the wall for any signs of damage, clearing the drainage systems to prevent water build-up, and ensuring the wall retains its structural integrity over time.
Conclusion
Constructing a retaining wall with geogrid is an exciting endeavour that offers significant value to your property. With adequate preparation, the right materials, and a dedicated step-by-step approach, you can transform your landscape while also gaining a new, valuable DIY skill.
This is certainly an improvement idea for your new house that will enhance not only its aesthetic appeal but also its overall value.